Scottish fudge is a true classic. For many in Scotland, it's not just a sweet treat but a trip down memory lane. Think about special family times, holiday gatherings, or simply a comforting snack on a chilly day. Made with a few basic ingredients, its rich taste and smooth texture make it a favourite for all ages. Curious about how this popular treat is made? Let’s take a brief look at the steps of making this traditional delight and find out what makes it so special.
Core Ingredients
When making Scottish fudge, the choice of ingredients is key. A handful of basic components come together to create the treat’s signature taste and texture. Here's a breakdown of these vital ingredients:
-
Sugar: The primary ingredient, sugar, not only provides sweetness but also affects the texture. Using granulated white sugar typically yields the best results. It's essential to choose pure, high-quality sugar to achieve that traditional taste.
-
Butter: Butter gives fudge its creamy consistency. For genuine Scottish fudge, using rich, unsalted butter is recommended. The quality of butter plays a significant role in the fudge's final flavour, so opting for a premium brand or, even better, locally sourced butter can make a difference.
-
Milk: Milk acts as a binding agent and further enriches the texture. Just like with butter, the milk's quality is crucial. Fresh, full-fat milk, ideally from local dairies, ensures an authentic taste and texture.
These three core ingredients form the heart of traditional Scottish fudge. However, the real magic lies not just in the components themselves but in their source. Ingredients sourced from trusted, local producers not only enhance flavour but also preserve the authenticity of this beloved treat. Remember, the closer you stick to quality and tradition, the closer you get to
crafting the perfect piece of Scottish fudge.
Don’t forget to check out our Vegan Fudge UK Range
Step-by-Step Process of Making Traditional Scottish Fudge
Making Scottish fudge might sound simple, but it's all about the technique. From getting the ingredients just right to stirring them together at the perfect pace, every step counts. Let’s break down the process so you can get a peek into the art of fudge-making.
1. Preparation
Before diving into the actual cooking, make sure you're set up for success. Measure out the ingredients in advance. This isn't just a good practice but ensures you can move seamlessly through the steps.
You'll need a heavy-bottomed pan, which distributes heat evenly and prevents the mix from burning. Keep a sugar thermometer handy, too. It'll be your best friend in checking the temperature. Also, have a greased or lined square tin ready; you’ll need it when it's time for the fudge to cool and set.
2. Melting
Start by placing the sugar, butter, and milk in the pan. Set the stove to a low heat. Let the ingredients melt together slowly. The idea is to let them become one without any ingredient overpowering the other. Make sure you stir gently to avoid any sugar sticking to the bottom. Patience is key here; rushing might lead to grainy fudge.
3. Boiling
Once everything’s melted together, it's time to turn up the heat a notch. Bring the mixture to a boil. Now, this is where that sugar thermometer comes into play. You’ll want the mix to reach what's called the "soft ball" stage, which is usually around 115°C (or 239°F). Be careful, as sugar mixtures can get super hot. This stage ensures the fudge sets just right and isn’t too soft or too hard.
4. Stirring
After boiling, remove the pan from the heat. Now comes the exercise! You’ll need to stir this mixture as it cools. This isn’t just to stop it from setting in the pan, but also to make sure it gets that classic creamy texture. Stir steadily and consistently. Watch as the mixture thickens and becomes more opaque. This is the transformation from a liquid to the beginnings of fudge. It might take a bit of elbow grease, but think of the delicious rewards at the end!
5. Cooling & Setting
When the fudge has thickened and feels harder to stir, it's time to move. Pour (or spoon, if it’s thickened a lot) the mixture into the prepared tin. Smooth out the top if needed. Leave it in a cool, dry place. As it cools, the fudge will continue to set. After a few hours, it should be firm to the touch. At this point, you can cut it into squares or any shape you fancy.
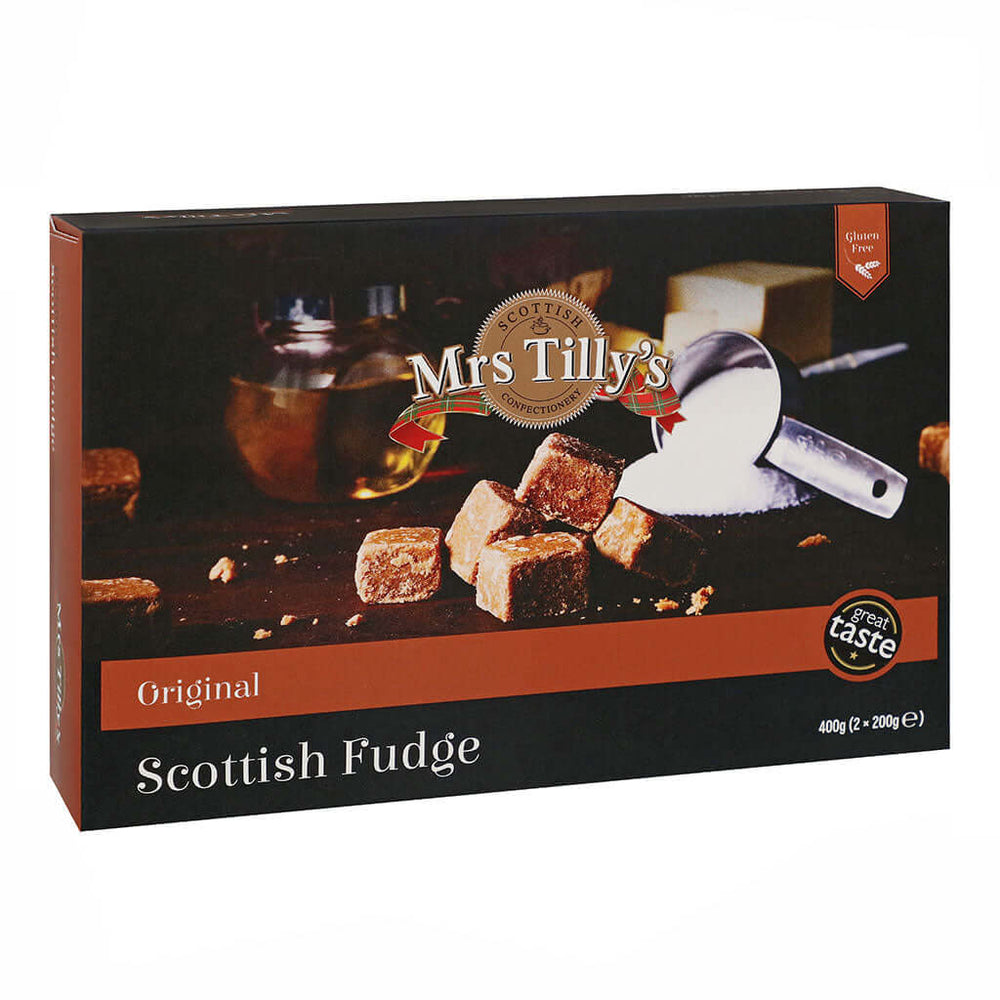
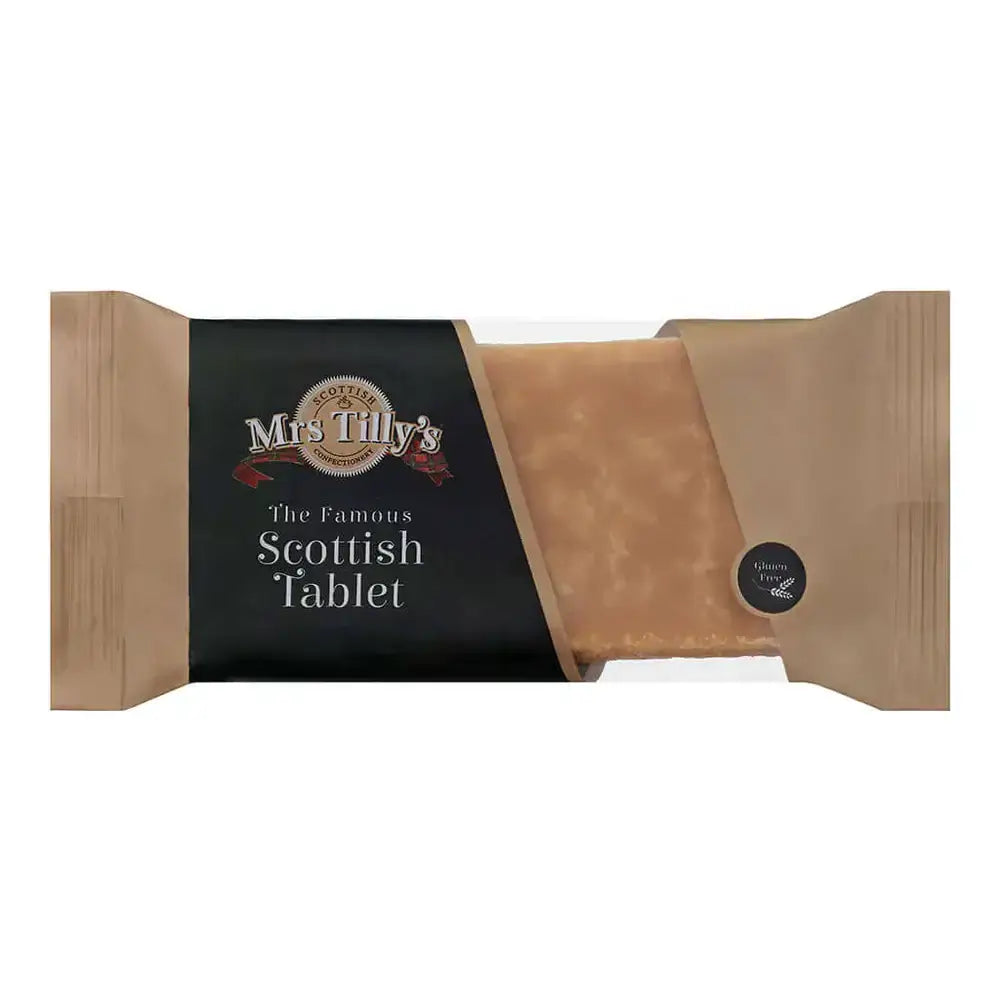
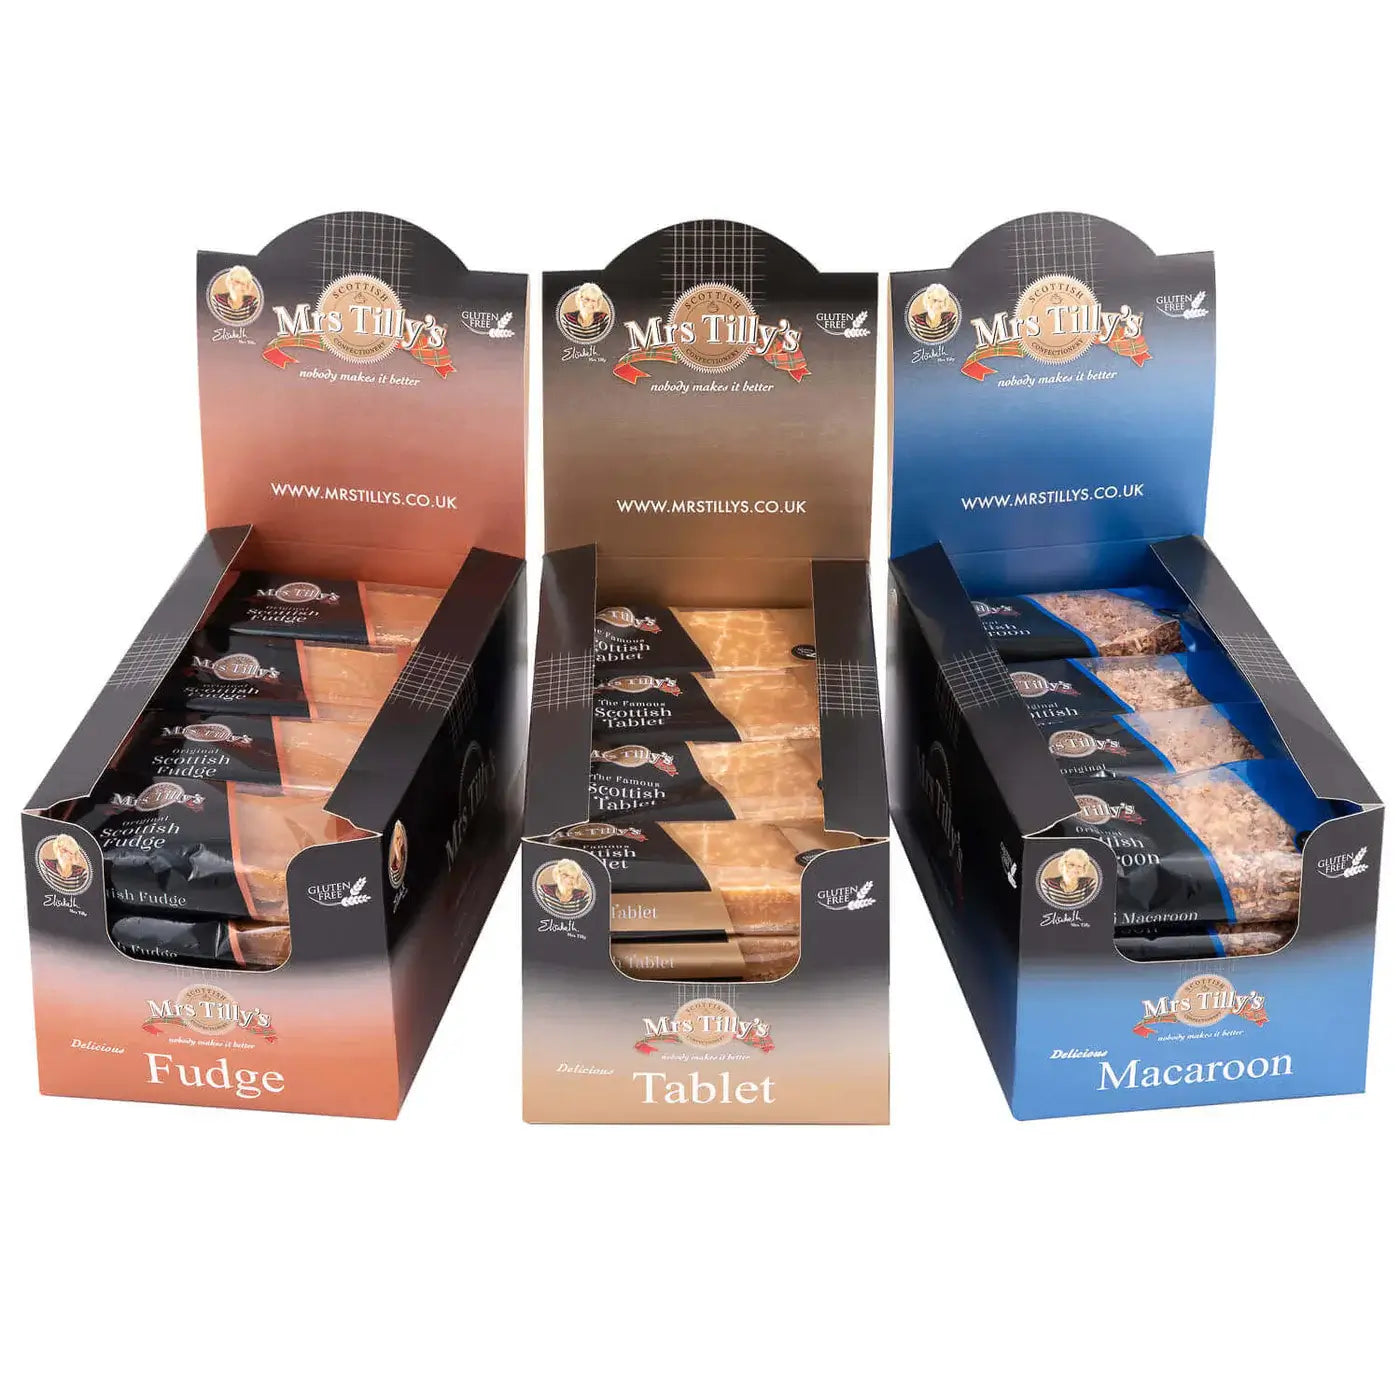
Here is a collection of our best-selling Scottish Fudge products!
Common Variations
Scottish fudge, while rooted in a specific set of core ingredients, is no stranger to innovation and creativity. Variations abound, and the beauty lies in the subtle tweaks that offer delightful surprises in each bite.
Dried Fruits and Nuts
Adding elements like raisins, sultanas, or almonds transforms the texture and adds depth. Fudge dotted with dried fruits offers an intermittent chewiness, while those with nuts provide a crunch that breaks the otherwise smooth consistency.
Regional Twists
Each corner of Scotland has its unique take on fudge. For instance, some coastal regions might introduce a hint of sea salt, lending a subtle salty kick, a beautiful counterpoint to the sweetness. Meanwhile, areas surrounded by orchards might have an apple or berry-infused version.
Tips for Perfect Fudge
Crafting the perfect piece of fudge is an art, and while the steps might seem straightforward, there are nuances to consider that can elevate your fudge from good to outstanding.
Avoid Common Mistakes
-
Watch the Heat: One of the most frequent mistakes is overheating the mixture. Keeping an eye on the thermometer and being patient can save your batch from becoming grainy.
-
Stirring Consistency: Stirring too vigorously can introduce air bubbles, which might ruin the texture. A steady, consistent stir is the way to go.
Achieving the Best Texture and Flavour
-
Quality First: Opt for fresh, high-grade ingredients. The taste of your fudge is a direct reflection of what goes into it.
-
The "Soft Ball" Test: If you don't have a thermometer, you can test the mixture's readiness by dropping a small amount into cold water. It should form a soft ball and not disintegrate.
Storing and Shelf-Life
Once made, it's essential to store the fudge correctly to maintain its texture and flavour.
-
Cool and Dry: Store your fudge in a cool, dry place. Airtight containers are perfect as they prevent moisture from seeping in.
-
Shelf-life: Typically, homemade fudge can last up to 2 weeks when stored correctly. If you notice any change in texture or odours, it's best to discard the batch.
If you don’t want to go through this hectic process, let Mrs Tilly’s deliver you the best Scottish Fudge you have ever tasted!
Check out our broad range of Scottish fudge gift boxes.


